Week 3 of the Agility Course
Mastering Direction Changes in Dog Agility Training
Changing direction is a crucial skill in dog agility, allowing you to navigate a full course with ease. This week's training will focus on the essential techniques needed to guide your dog through changes in direction confidently, whether you’re practicing at home or in class.
Why Direction Changes Matter in Dog Agility
In the first two weeks of our agility training, we worked on moving in a single direction. This week, we’re adding the final skills to your handler toolkit so that you can navigate an entire course. To change direction, handlers use various techniques, including the front cross, to smoothly guide their dog from one direction to another. These skills are essential for moving both clockwise and anticlockwise during a run.
Doggy Dictionary: Key Terms
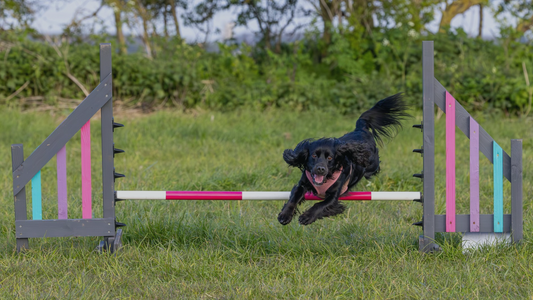
- Round: When the dog goes behind a jump and takes off from the opposite side they were previously traveling.
Step-by-Step Breakdown: How to Change Direction in Agility
A detailed breakdown for those who want one. (Homework at the end)
Crosses look and feel great when they’ve been practised to the point that they flow, but while learning the footwork, can feel a bit tricky. This is where practice makes perfect!
Step One: Practice Direction Changes at a Walking Pace
You can see Luna practicing this step of the ‘front cross’ training in the short clip below 👇

- Have your dog on your left.
- Hold one reward (food or toy) in each hand.
- Use the hand closest to your dog (left) to lure them a few steps forward.
- To do a front cross:
- Turn towards your left arm and dog.
- Swap to luring them with your right arm
- Walk a few steps back in the direction you came from
Your dog has stayed on the same line, but the arm you handle them with switches.
Step Two: Practice on a figure of 8
In class, I will show you how to develop this into some simple figures of 8 drills that practice the new skill using a combination of posts/jumps.
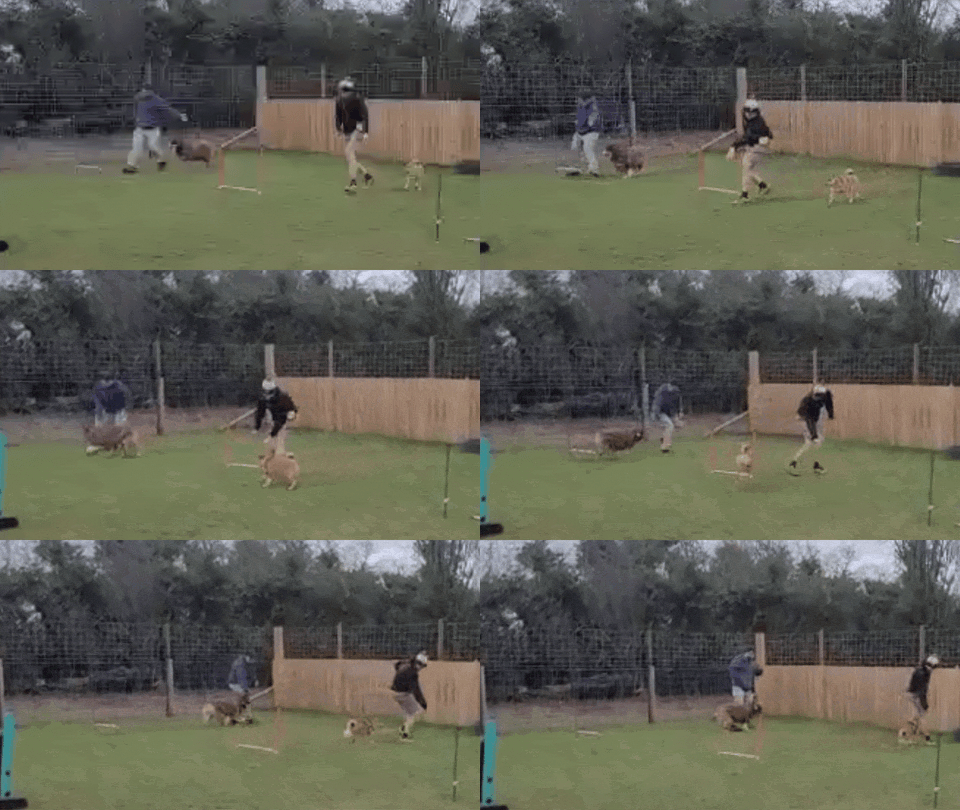
Finally, we will put it into practice on a jump sequence that may include a tunnel, where we will start with easy turns and progress to sharper ‘crosses’.
You will lead using one arm, get ahead of your dog and turn and swap to use your other arm so the dog switches which side they are.
How to practice dog agility at home
If you don’t have access to an agility course, you can still practice the figure of 8 drill (front cross and the ‘go round*’ cue) using everyday objects at home:
- Use a post, chair, or flowerpot as an obstacle.
*A ‘go round’ is where the dog goes around to the back side of a jump and takes off the opposite side than they were previously travelling.
Below is the 4-stage process of training a ‘go round’ cue.
Lure. Fade lure. Add cue (“go round”). Add distance (few steps away)


Homework:
Figure of 8, front cross exercise:
- Have your dog on your left, obstacle ahead.
- Point with your left hand and say go round.
- As your dog finishes their clockwise circle around the obstacle, to do a front cross:
- Turn towards your left arm and dog.
- Swap to handle them with your right arm.
- With your dog on your right, point with your right hand and say go round.
- As your dog finishes their anticlockwise circle around the second obstacle you can reward and finish, or repeat the steps above
GOAL: Can you handle your dog around a full figure of 8 pattern?
Further Learning
Checkout this video for tips on refining it: Master the Front Cross Video.
About the Author
Hi, I’m Emma, a professional dog trainer accredited by the Institute of Modern Dog Trainers (IMDT). I specialize in helping owners of high-energy dogs create a rewarding relationship with their pets. My training centers are located in Balsham and Barton, near Cambridge, offering personalized obedience and agility training.
Disclaimer: This article is for informational purposes only. For personalized advice, contact me here or find a local trainer through the IMDT website: Find an IMDT Trainer.
