Beginner’s Guide to Teaching Left and Right Turns in Dog Training
Why Teach Left and Right Turns?
Teaching your dog directional cues like “Left” and “Right” is valuable for agility training, canicross, and even everyday walks. A well-trained dog that understands these cues can navigate obstacles smoothly, avoid hazards, and respond quickly to handler's direction. Remote handling skills also allow you to guide your dog confidently from a distance, which is essential for agility courses and other off-lead activities.
What’s the Difference Between a Loose Turn and a Tight Turn?
A loose turn is when the dog changes direction without making a full U-turn. They continue moving forward but in the new direction you’ve indicated.
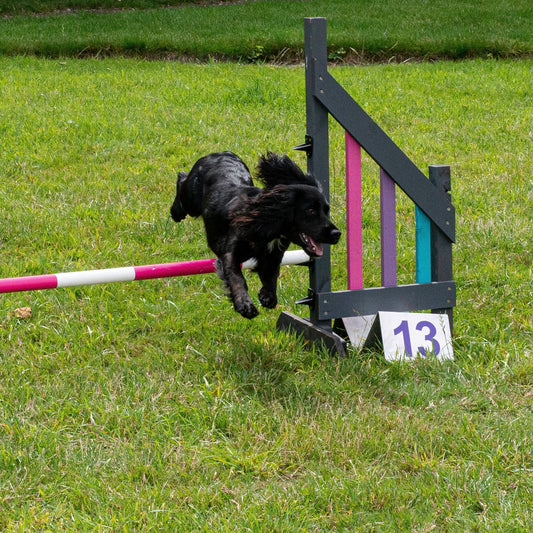
A tight turn, often called a wing wrap, is when the dog lands and turns sharply around the jump wing before heading in the opposite direction. Tight turns are useful for cutting down course time in agility, while loose turns help your dog flow smoothly through a course.
In this guide, we’ll focus on loose turns—where your dog turns left or right while continuing forward.
How to Teach Your Dog Left and Right Turns
What You’ll Need:
-
Three obstacles: Anything will work, for example, jump wings, cones, bins, chairs, or poles.
-
Two bowls: To mark the landing area and encourage independent movement.
-
Handful of treats: High-value rewards keep your dog motivated.
-
Decide on Your Cues: Choose clear verbal cues for each direction. Some examples include:
-
“Left” for an anticlockwise turn (dog turning over their left shoulder)
-
“Right” for a clockwise turn (dog turning over their right shoulder)
-
Some handlers prefer “Tic” and “Tac” or “Come By” and “Away” (sheepdog-style cues). Use what feels natural, but stay consistent!
-
Step 1: Teaching the Basic Motion
-
Start with your dog beside you at one end of the circuit.
-
Lure them with food around the first obstacle in a clockwise motion for a right turn.
-
Drop the treat in the bowl at the landing spot to reinforce the motion.
-
Repeat this 5-10 times to build muscle memory.
-
Mirror the setup and repeat the same exercise for left turns.
Step 2: Fading the Lure & Building Independence
-
Use an empty hand gesture instead of a food lure—this encourages your dog to follow the motion instead of relying on the treat.
-
Reward only after they complete the turn by dropping food into the bowl.
-
Once your dog reliably completes the turn without following a lure, add your verbal cue:
-
Say “Right” as they begin a right turn.
-
Say “Left” as they begin a left turn.
-
-
Practice until they respond to the verbal cue alone!
Step 3: Increasing Distance & Difficulty
Once your dog understands left and right, start increasing the challenge:
-
Increase the circuit size: Place obstacles farther apart to build confidence.
-
Delay rewards: Instead of rewarding after each turn, reward after two or three turns.
-
Add distractions: Introduce movement, toys, or other obstacles to proof the behaviour.
-
Move away while they’re turning: Test their commitment to the cue by stepping back or running ahead.
Common Mistakes & How to Fix Them
❌ Dog turns too wide → Adjust bowl placement so they learn to turn within a tighter radius.
What’s Next? Progress to Course Sequences!
Once your dog confidently responds to left and right cues, you can incorporate them into agility courses. Try setting up small sequences where your dog must turn in response to your commands without you running alongside them.
🎥 Watch this training drill in action: Instagram
📺 Check out the YouTube Short for video guidance
Conclusion: Build a Stronger Connection Through Directional Training
Teaching left and right turns strengthens your communication with your dog, making agility training and daily walks more enjoyable. By following these steps, you’ll build a confident, responsive dog that can navigate courses with ease!
👉 Ready to level up your dog’s training? Share this with a friend who needs better steering skills!


