

Guide 1: Introducing the Place Board to your dog
Guide 1: How to teach your dog ‘Place’ using a Place Board | Introducing the Place Board to your dog
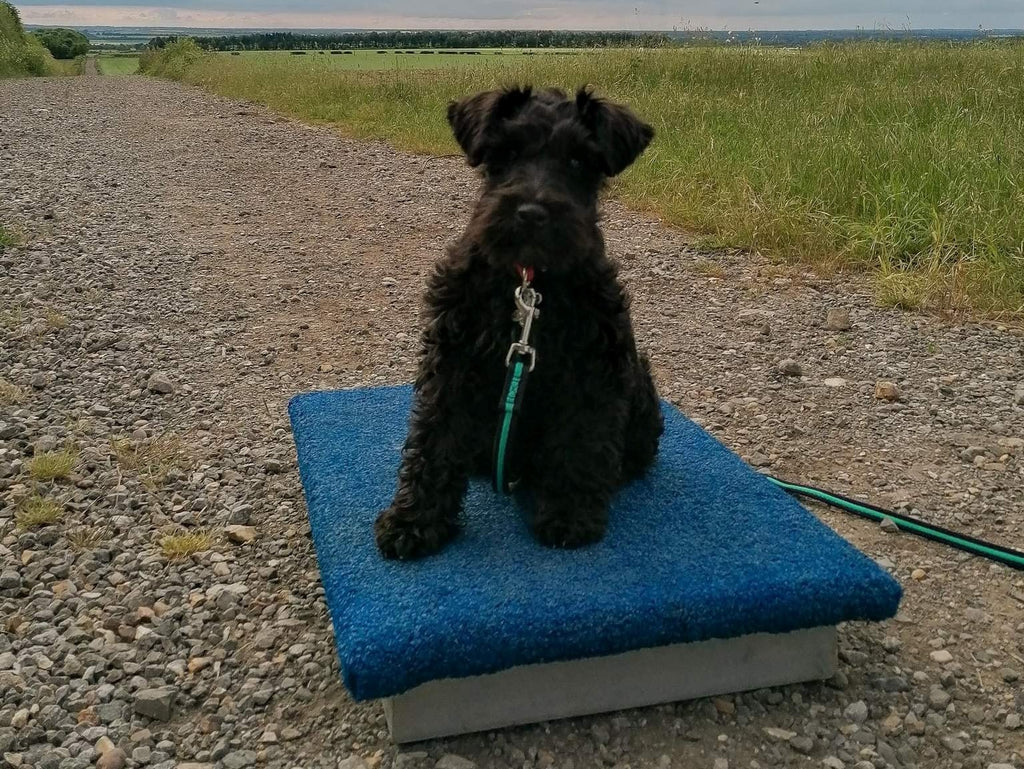
The first three stages of introducing the Place Board to your dogs' training.
The aim of our Place Board Training to teach the dog that when they hear us say “Place”, they target their place board with drive sit, and stay seated until they are given their release cue “OK”.
This article covers the three initial steps of how to introduce a Place Board to your dog, and build strong foundations for the Place Boards’ use as a training tool. For use in exercises such as agility, start-line sit stays, and gundog training.
How to introduce a Place Board in your dogs’ training
You will need:
-
Place Board.
-
Lead and collar or harness.
-
High-value food rewards cut into pea-sized pieces.
-
Treats Pouch.
-
Clicker (if using).
TIP: high-value food rewards include chicken/sausage/cheese/pate. It is advantageous if the food is light coloured like cheese when reward placement is on the ground the treat is easy for the dog to spot.
Handler setup:
-
Have your dog on a lead.
-
Keep your dog on your left.
-
Hold the lead by looping the handle over your right hand.
-
Cup your right hand to hold 5 treats.
-
Hold the clicker in your right hand (if using).
-
The right hand is held in line with your belly button.
-
Left hand free to deliver treats.
Stage one: forming positive associations.
Our first task is to give the dog confidence when moving onto the board and into a sit, and the dog associating this action with positive rewards.
-
Hold a high-value treat between your fingers and thumb of your left hand, have your hand in front of your dog, no further than two inches from their nose.
-
Start standing in front of the narrow end of your place board with the dog on your left.
-
Eager to get the treat, the dog will follow your hand as you slowly guide them onto the board, by steadily moving the lure forwards whilst you walk up beside the right-hand side of the board with the dog following beside, which will guide them onto the board.
-
When all four paws are on the board, say ‘sit’ as you slowly raise your hand in an upward motion above the dog’s head. To follow the treat the dogs head will move up and their bottom goes down.
-
Mark the moment they are sitting on the board with a clicker or verbal marker “good”.
-
Now they are seated give them 4 treats in a row into their mouth with lots of praise.
(This string of treats teaches the dog the board is a great place to be).
-
Throw a 5th treat off the board onto the floor, paired with saying your release cue ‘OK’ to indicate the behaviour is complete.
-
Let them have a break to sniff and play before repeating the steps above, until the dog is eagerly following a lure onto the board and moving into a sit without hesitation.
Watch this video for an example: https://youtu.be/PK6p4eo7LUI
TIP: the food in your hand must stay close to the dogs’ nose and move slowly. Imagine your dog’s nose and the treat to be like magnets, if they move too far away or too quickly, just like two magnets, you will lose connection.
Q: Have you had at least five successful repetitions in a row, where your dog has confidently followed the food lure onto the place board and into a sit? Go to the next step.
STAGE TWO: fading the lure.
-
Hold your hand in front of the dog in the same way as you were when using a food lure in ‘stage one’. Travel with your dog to the board, starting with the narrow end of the board in front of you and your dog. Use your momentum as you walk forwards and beside the long end of the board to encourage the dog forward onto the board.
-
Move your hand in the same action: slowly forward onto the board and up into a sit.
-
Again, mark the moment the dog is seated with a clicker or “good”, give 4 treats in a row with lots of praise.
-
Throwing the 5th treat off the board onto the floor, paired with a release cue ‘OK’ to indicate the behaviour is complete.
-
Let them have a break.
-
Repeat the steps above until the dog is successfully walking onto the board and sitting every time without food in your hand.
Q: Have you had at least five successful repetitions in a row, where your dog still follows your hand onto the board, now you are not holding a lure? Go to the next step.
STAGE THREE: No prompt from the handler, testing the positive associations.
-
After releasing the dog by throwing the 5th treat off the board onto the floor, paired with a release cue ‘OK’ remain close to the board.
-
Count to 10. Do not say anything or use your hand. This gives your dog a window to offer a behaviour, hopefully, they will go onto the board and sit without any prompts.
-
If the dog goes onto the board, mark (clicker or word) and reward as before with lots of praise. If not, repeat ‘step two’ for a little longer before increasing expectations.
Goal to achieve: After being released when the 5th treat is thrown off the board, your dog goes back onto place board voluntarily between reps, showing they have a positive association with being on the target.
Overview:
-
Lure onto the board, 4 treats to their mouth, 1 thrown off as you say “OK”, forming positive associations with the treat stream.
-
Remove food lure, handling the same as before, without food in the left hand.
-
Add a 10-second pause after the 5th treat is thrown to the floor. No verbal or hand gesture as a prompt from the handler. See if the dog offers the behaviour before handling.
Why? This gives the dog a window to decide what to do next, if they choose to go onto the board, it shows that the positive associations have been formed.
Tip: Teaching the dog a behaviour is like them learning a new game. Every time we increase the difficulty by progressing to the next stage, it’s like introducing a new rule they have to learn and understand. If they are no longer successful, we’ve made it too hard too quickly and it would be more beneficial to repeat an earlier stage. Far better to keep the game fun and the dog engaged than move through the stages too fast.
About the author:
Hi 👋 I’m Emma, accredited as a professional dog trainer by the Institute of Modern Dog Trainers (IMDT). I help owners of energetic dogs achieve the dog-owning life they envisioned by providing robust obedience & agility training for dogs in Balsham, near Cambridge.
Disclaimer: The content of this article does not include personalised advice and is for information purposes only. If you need individual advice or other enquiries please click here to get in contact or if you're not local to Anglian Dog Works, you can find a trainer in your area by going to the IMDT website: https://www.imdt.uk.com/find-a-qualified-imdt-trainer
Please share your questions and progress:
We would love to see how you get on with your dog’s introduction to place boards. For tips from our trainer and to share success post your pictures and videos in the Anglian Dog Works Facebook group. https://www.facebook.com/angliandogworks